
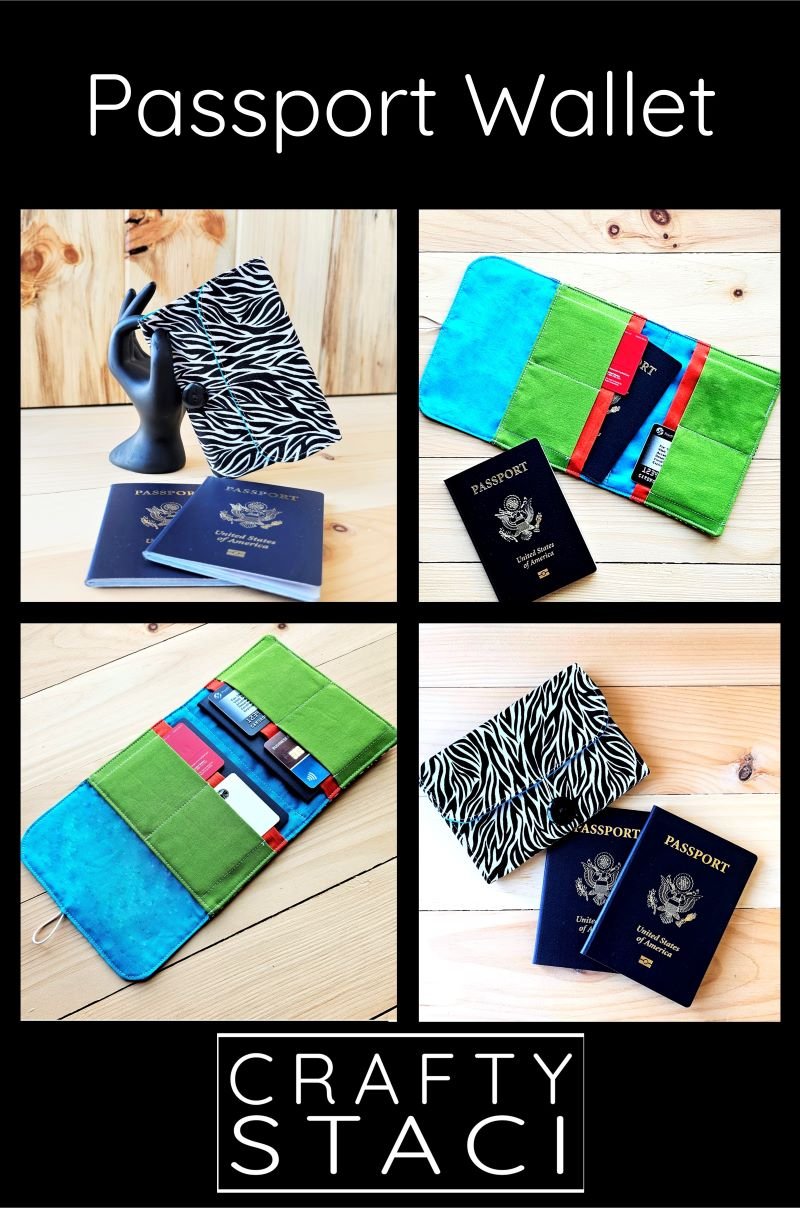
Doing a little traveling this year? This wallet will hold two passports, a few cards, and anything you’d like to keep secure in the zippered pocket!
I’ve been sharing tutorials on my blog for over a decade, and I’m frequently asked how they can be printed or saved. The answer is here! You can find this printable tutorial in my shop, which contains the instructions, color photos, and templates from the original blog post, without the extra things you don’t need to make the project. The file is in PDF format, so you can either print or save it to your computer.
Let me say thank you to Carolina from Always Expect Moore for inviting me to be a guest blogger. I can't wait to see all of her Pocket Week projects and activities, and I'm honored to be able to contribute my own! (This post is an update to the version I originally shared.)
I am the proud owner of a brand new, shiny U.S. passport. I've always wanted one. I mean, how cool is it when they stamp where you've been in a BOOK?!? If I have to wait too long I might start stamping in it myself, which is probably against the rules or something.

This post contains affiliate links. For my full disclosure policy, click here.
Of course, since I have a passport, I need something to put it in. I have a water-resistant case I'll be using and I wanted something I could slip into it that would hold my passport and some credit cards and other ID.
Nothing I have or could find met my needs, so this little wallet was born.
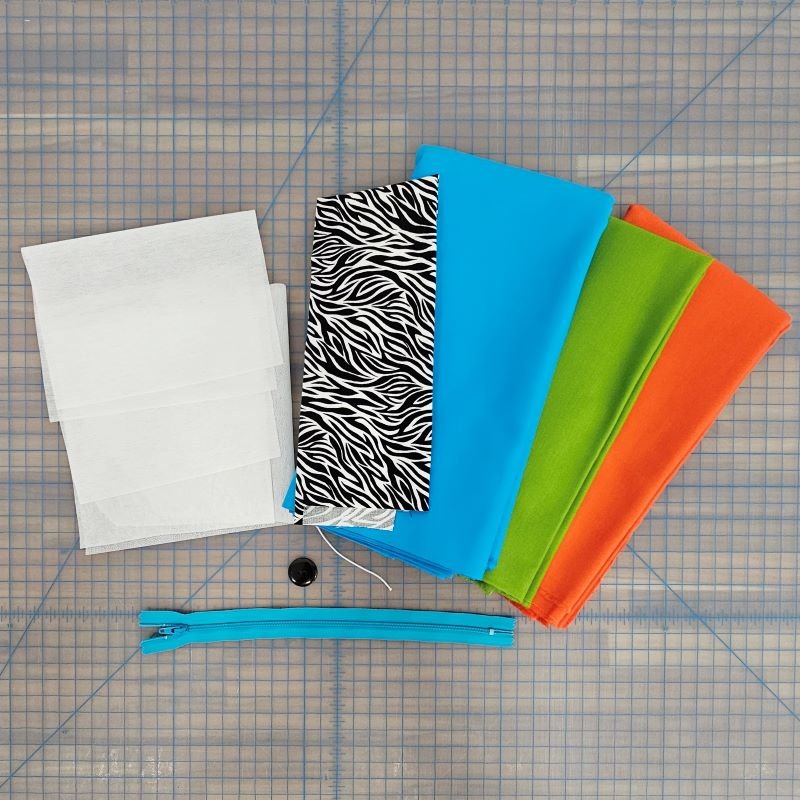
To make this passport wallet you'll need:
1/4 yard of cotton fabric (if you’d like to use different prints for the various parts of the wallet, scraps or fat quarters would work well)
7" x 12 1/2” fusible interfacing (this is the one I use for most projects)
6" zipper (or a longer one shortened to that size)
3” of elastic cord
button (1/2" or larger)
wooden toothpick
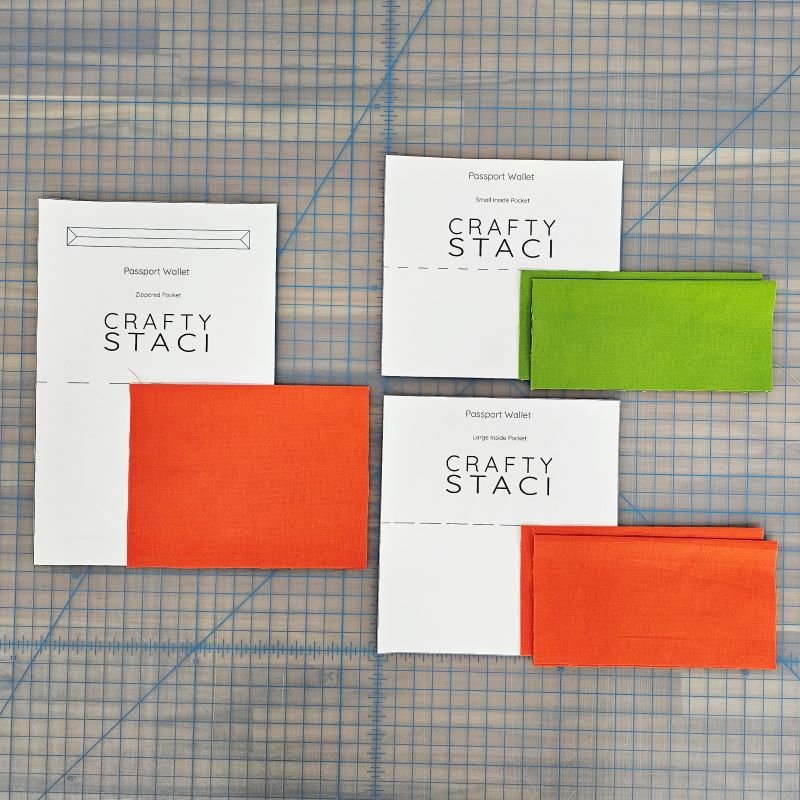
The four templates print on five pages. The Body piece has to be assembled by overlapping the two pages and matching up the Crafty Staci logo. I like to use my light pad for this, but you could also hold it up to a bright window.

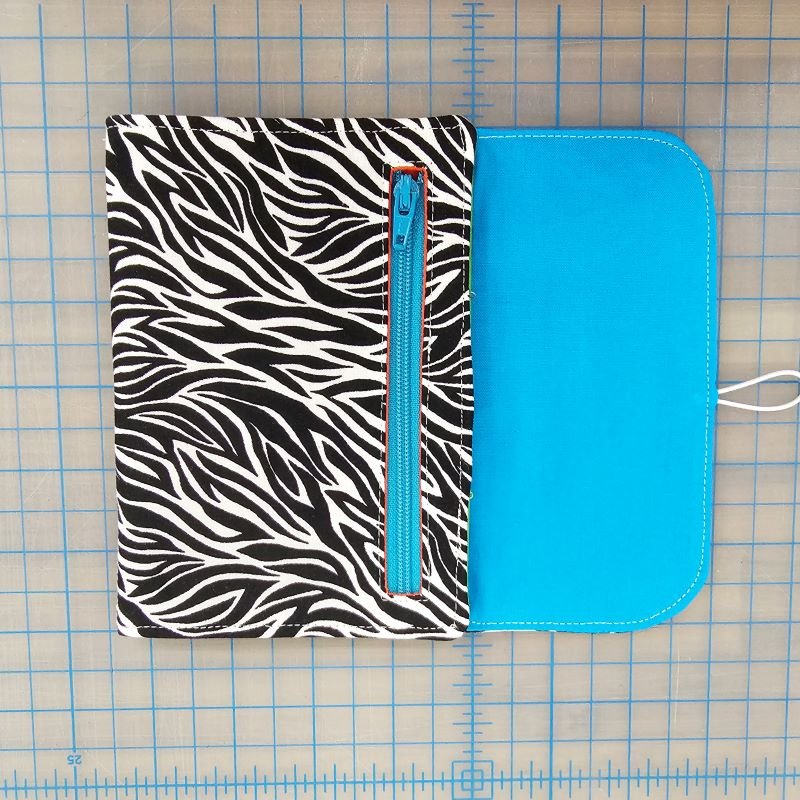
The finished wallet measures about 6" x 4 1/4" when closed, and 6” x 11 1/4” open.
Cut out the fabric pieces:
(2) body, one for the outer wallet and one for the inside
(1) zippered pocket
(2) large inside pocket
(2) small inside pocket
Cut from interfacing:
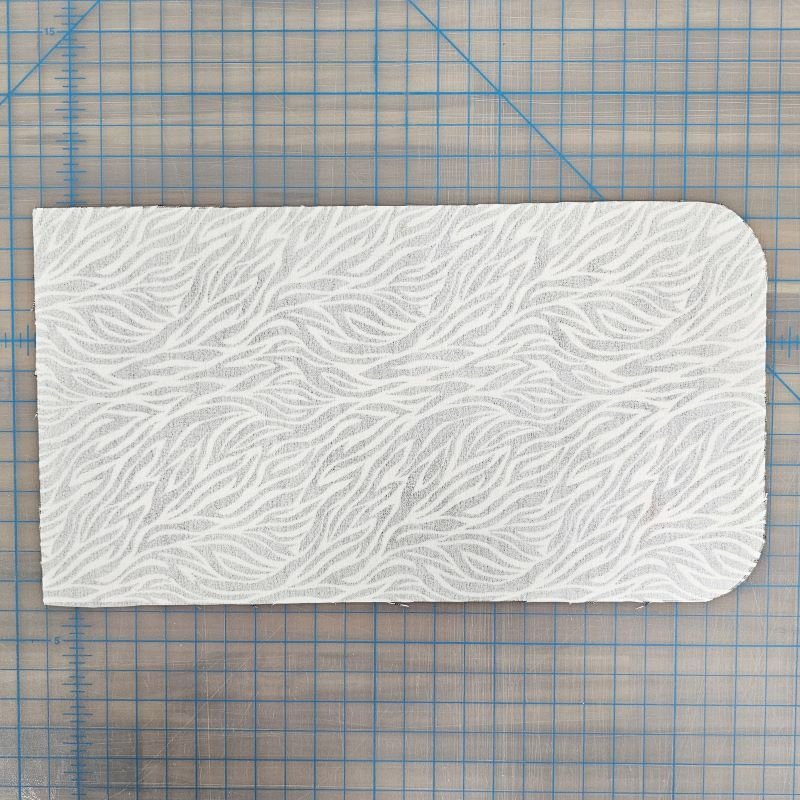
(1) body

Cut the elastic cord to 3” long. Bring the two cut ends together and zigzag stitch or wrap with thread to hold them and create a loop. Set aside.

Shorten the zipper if needed by stitching over the teeth and trimming it to 6” in length, end to end.

Fuse the interfacing to the wrong side of the outer body piece.
Fold each of the (2) large inner pockets and (2) small inner pockets with wrong sides together according to the dotted lines on the templates. Fold the zippered pocket right sides together. Press the folds.
Open the zippered pocket back out, with the wrong side up. Draw the box shown on the template onto the fabric. You can do this by cutting out that section of the template so you can use it as a stencil, or measure.

Lay out the outer body, right side up. Pin the zippered pocket on top, right side down, with the drawn box up. The edges should be even and the drawn box closest to the squared end of the outer body.
Stitch on the drawn box lines.

Cut a slit in the center of the drawn box and diagonal lines to each corner, as shown on the template. Cut close to, but not through, the stitching at the corners.

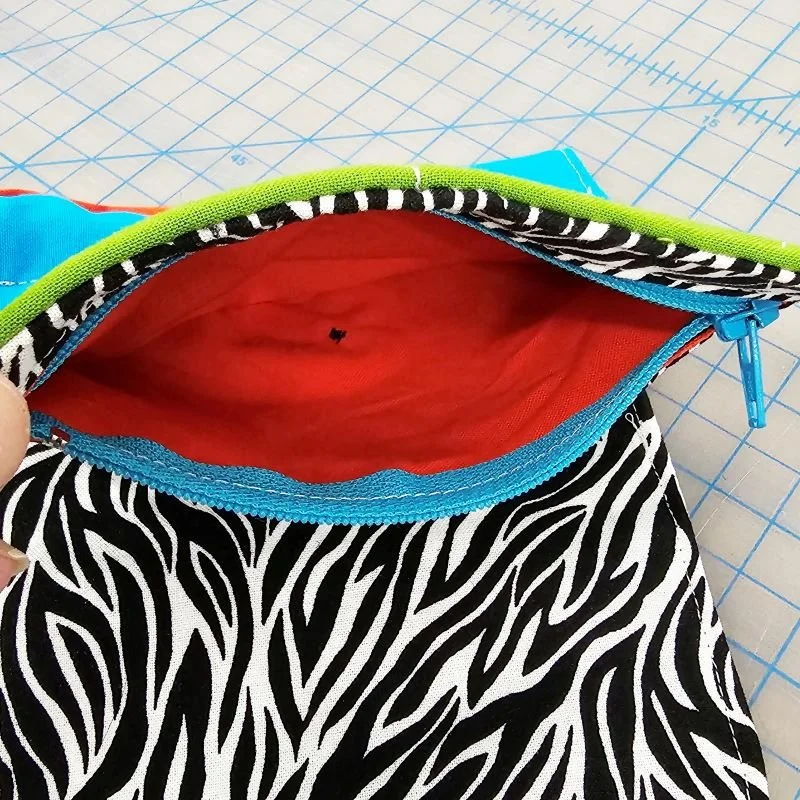
Pull the entire zippered pocket through the slit to the wrong side of the outer body.
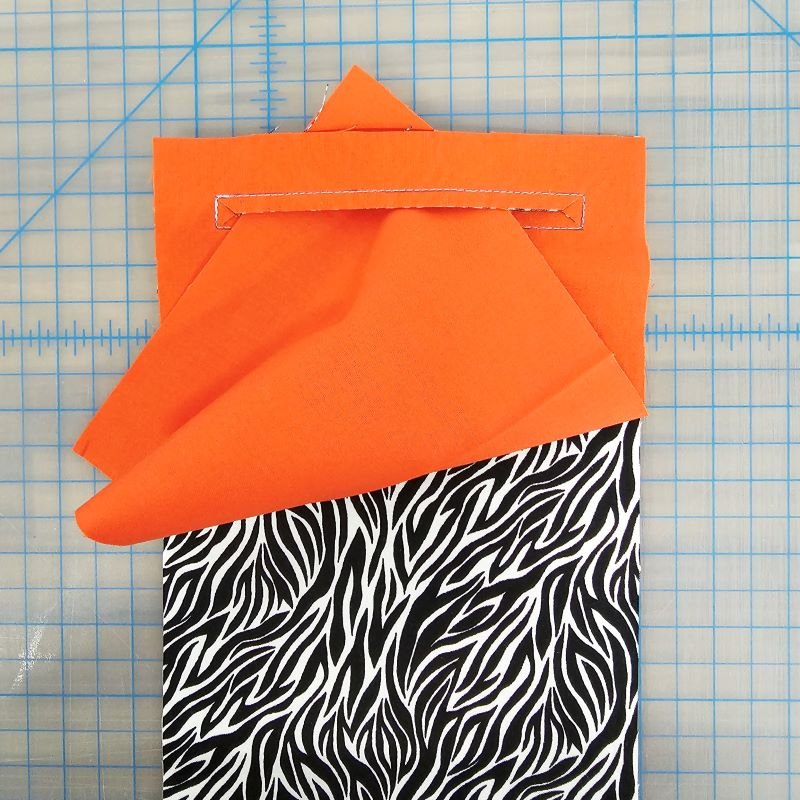
Make sure the zippered pocket lays flat and press the seam.

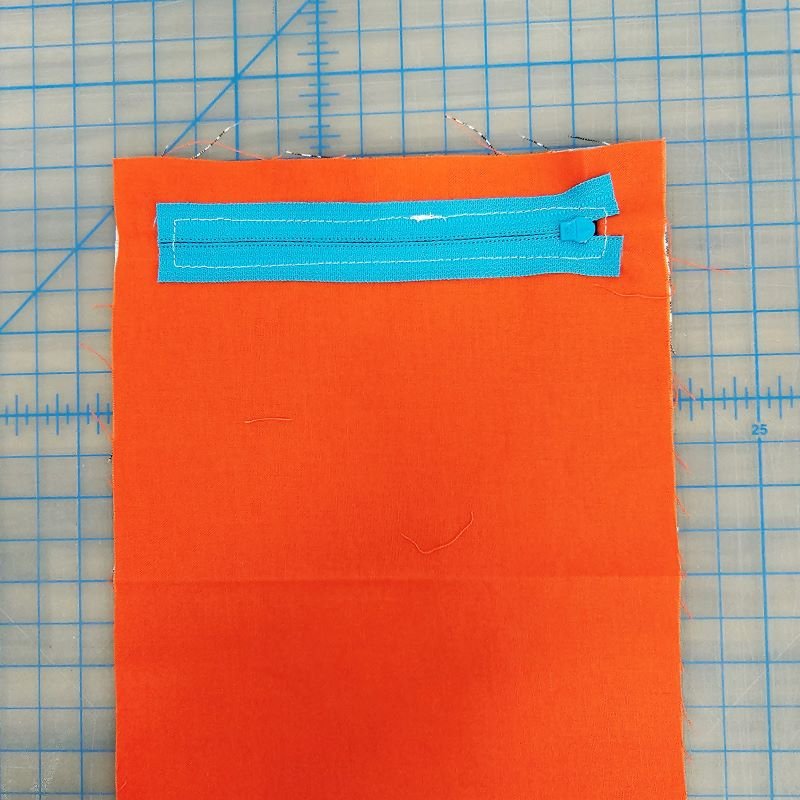
Place the zipper behind the opening with the teeth centered and the pull close to the left edge. Pin, baste, or glue in place.

Stitch around the zipper, about 1/8” from the edge of the opening. Use a zipper foot on your machine if you have one available. If not, move the needle as far to the left as possible. Be careful stitching over the zipper teeth at the end.

Trim the ends of the zipper about 1/4” from the stitching. Set aside.
Lay out the folded large inside pockets with the fold at the top. Place the folded small inside pockets on top with the raw edges even at the bottom. Pin the layers together.

Draw vertical lines 3/4” from the left and right and one line 3 1/4” from the left (should be the center) on the small inner pockets. I like my Hera marker for this.
Stitch on each line through all layers.

On one set of pockets, turn the bottom raw edge under 1/4” and press.

Unfold and zigzag stitch over the raw edge. Fold it back up and press again.

Lay out the inner body with the right side up. Lay the template next to it to use as a guide.
Place the set of pockets with the turned edge where the pockets are shown on the template nearest the curved end. The folds should face toward the squared end.
Stitch 1/8” from the turned end of the pockets through all layers.

Place the remaining set of pockets with the raw edges even with the squared end of the inner body. Do not sew yet.
Place the elastic loop in the center of the curved end of the body. The loop should face into the wallet. Baste the loop in place if you’re concerned it will shift.

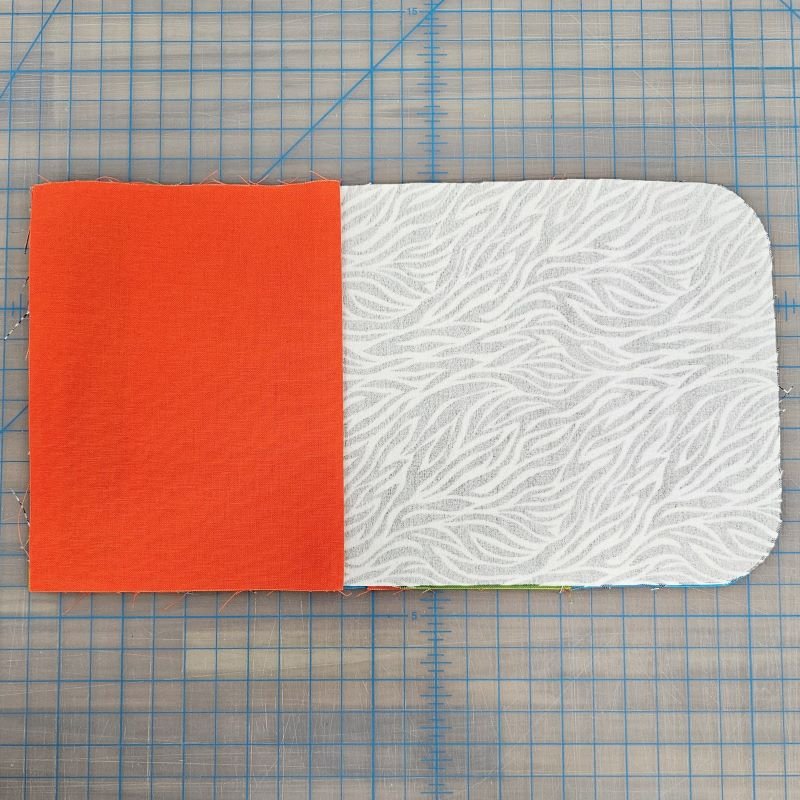
Lay the outer body right side down over the top.

Fold the zippered pocket along the fold you pressed previously so the zipper is covered and the raw edges are even. Pin the layers together well.
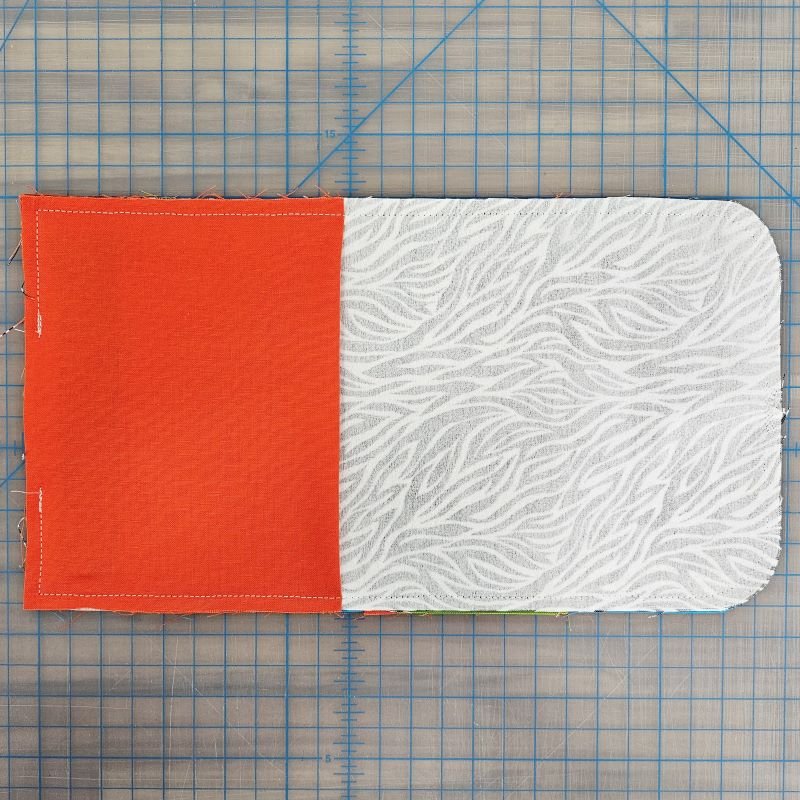
Stitch around the wallet 1/4” from the edge, leaving 2 1/2” open on the squared end for turning. Backstitch at the beginning and end of the seam and over the elastic ends.
Clip the corners and curves. Turn the wallet right side out through the opening.

Carefully push out the corners with a pointy tool. Press the seams, turning in the edges of the opening 1/4”.
Stitch around the wallet 1/8” from the edge. It’s thick in some places, so go slow, use a walking foot if you have one, and switch to a larger needle if necessary.

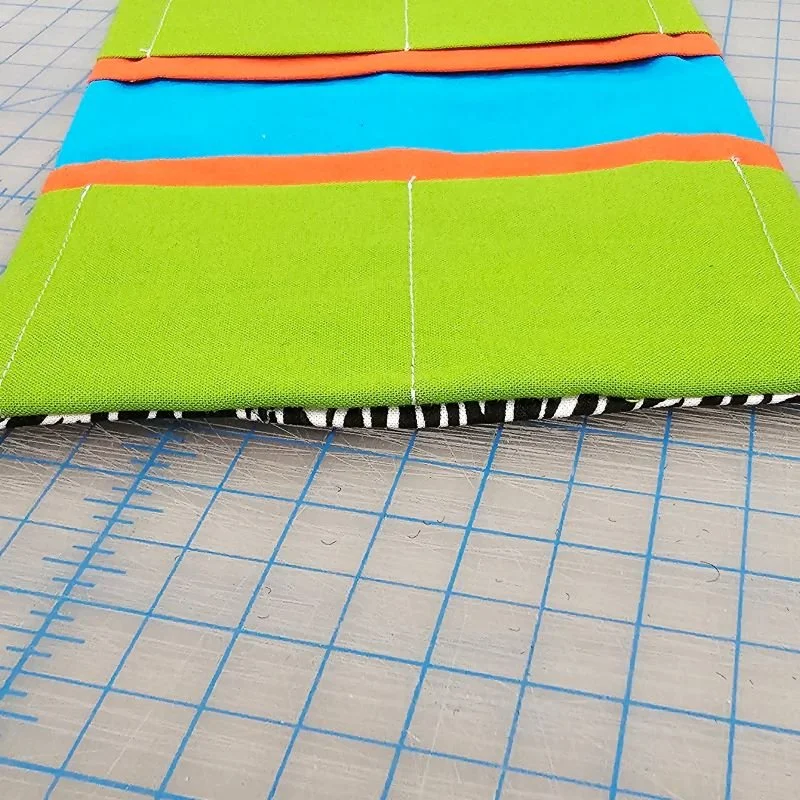
Draw a line halfway between the two large inside pockets on the inner body. Stitch on the line. This helps the wallet know where to fold and secures the bottom edge of the zippered pocket.

Fold the bottom of the wallet closed along the stitching line.
Fold the top of the wallet closed along the edge of the bottom. Stick a pin in the elastic loop at the farthest point it can reach without stretching.

Make a mark at the pin and remove it.

Unzip the zipper. Hand sew the button on the mark, stitching up from inside the pocket. (If you find this part a little too tricky, you can sew straight through all the layers, you’ll just lose a bit of pocket space.)
Slide a toothpick under the button while you’re sewing to create space for the elastic to loop around.

Knot the thread under the button and clip.

Fill it with your passport (it will hold two), hotel key cards, ID, credit cards, coins (if you use a public restroom in some places, these are a must!) and public transit passes.

Fold it up, loop the elastic around the button, and you’re ready to hit the road!


