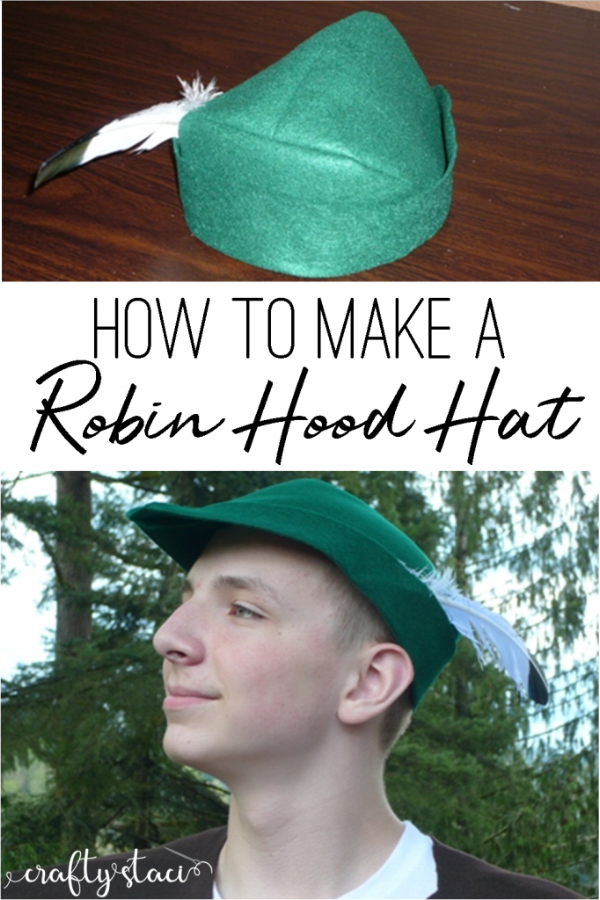
This week, I had the privilege of making felt Robin Hood Hats for eleven men. Merry men, of course.
My son, his math teacher and 9 of his classmates decided a few weeks ago to perform the song "Men in Tights" from the movie "Robin Hood: Men in Tights" for the middle school talent show. They were a very committed group, giving up recesses to practice every day.
And they delivered. Their performance was spot-on, as indicated by the screaming girls in the bleachers.
With a little over a week to go before the show, Tucker came to me and said "Hey Mom, do you think you could make us Robin Hood hats?" Having an artsy, crafty reputation to uphold, I immediately said yes. Then I spent the next couple of nights lying awake, trying to come up with a pattern that would do their bravery and boldness justice.
After a few failed muslin mock-ups, I awoke one morning with an ah-ha moment, went to the sewing room and it came together as smoothly as if I actually had a pattern. Of course, now I do.
This post contains affiliate links. For my full disclosure policy, click here.
I used felt for the hats, the kind you can buy by the yard. They were made for adult-sized heads, and although their head sizes did vary a little, it seemed to work. It would need to be scaled down for a small child.
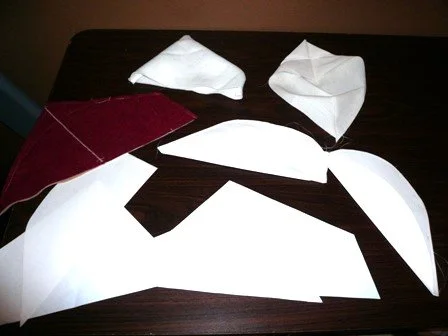
Download the template here. Cut out both pieces and tape together at the overlap.
Cut the felt using the template, with the short, straight edge on the right on the fold.

Stitch, right sides together, along this edge:

Flatten the back point with the seam centered, as shown.

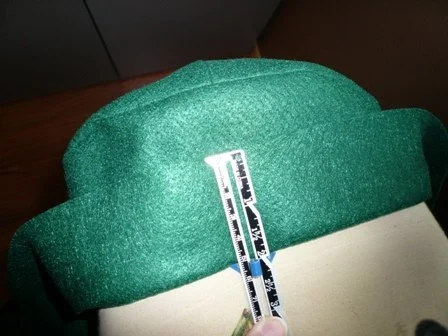
Stitch a curved line through all layers, about 2 1/2 inches from the point and tapering at each side. I made a cardboard template to stitch next to so that all the hats would be the same. I included it on the hat template you can download above.

Cut the excess corner away above the stitching line. Turn the hat right side out.

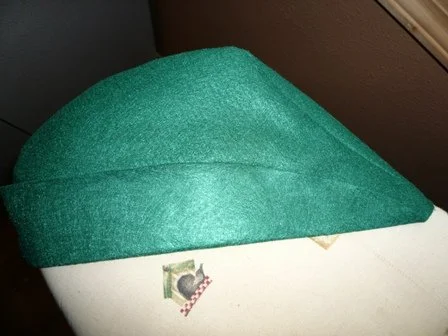
Fold up the brim on the back of the hat 2 inches. Press with steam iron.
Fold the remaining brim up, tapering toward the front and ending about 1/2 inch on each side of the seam at the front.
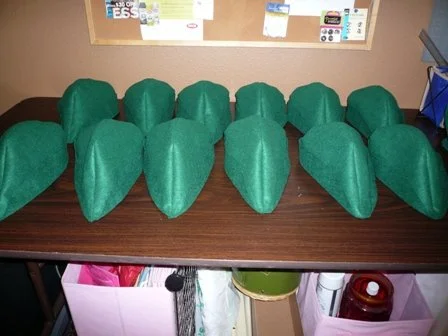
Here's the hat army, waiting for feathers.
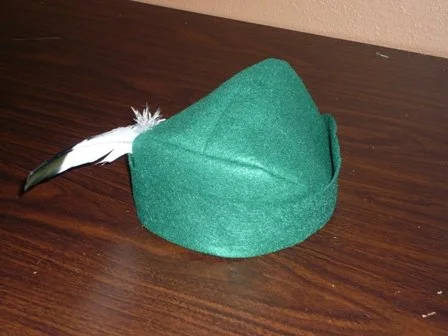
I hot glued the feather in place. Here's a view from the back.
This is a paparazzi shot from the show.
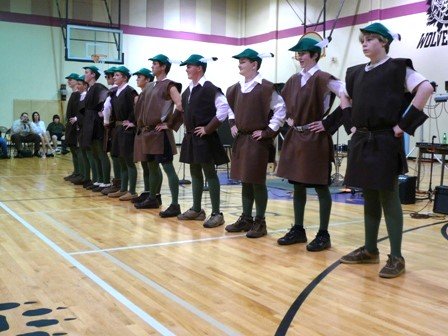
I knew him before he was famous.

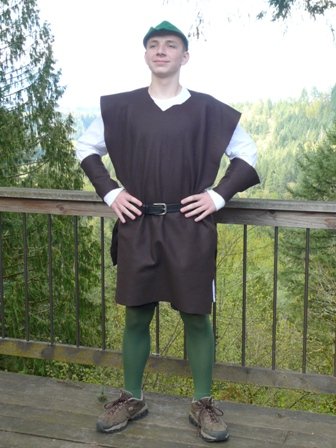
The boys cut their own tunics and arm bands like pros. And Mr. Massey, their math teacher, actually went out and found green tights.
It was an amazing performance and an experience I doubt any of them will soon forget. My heart swelled a little when the boys changed after they were done and all came back still wearing their hats!